Wikipedia defines Shibori as a Japanese term for several methods of dyeing cloth with a pattern by binding, stitching, folding, twisting, compressing it, or capping. Some of these methods are known in the West as tie-dye. There is a world of variety in how these simple techniques can and have been combined and recombined, in one or multiple dye baths, and dye applications.
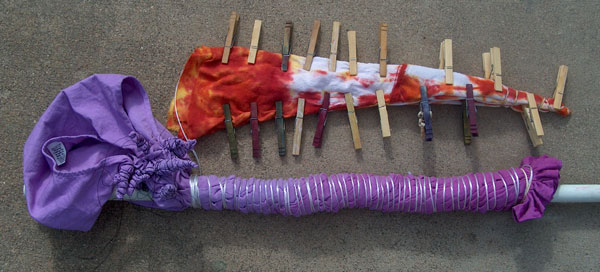
In 2011, our Annual Dyeing Days lasted the usual week plus–the dyes remain active for 10-14 days, even when the participants are already exhausted. In addition to the more standard methods of tying and dyeing, we added some new designs.
We could have asked around, taken a poll; instead we got some books from the local library and took several poles. PVC pipes, to be precise.
As it happened, I have several bags of pvc pipes left over from the days when I used to do outdoor shows and I had display racks that I made to be used with dyed clothing. Little did I know back then that I would be using the poles themselves for dyeing! They come in different diameters, and we use the thin ones as well as the ones that are several inches across. you can also wrap around plastic hose.
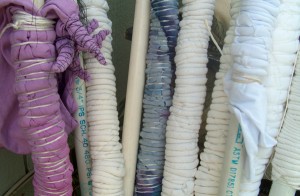

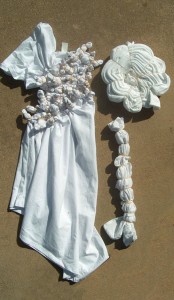
The ties shown above are done on white cotton clothing items known to dyers as “blanks”. Dharma Trading Co. is a great source for blanks, which include black and white items in cotton, silk, and rayon for men, women , children, and household use. They have hats, pillowcases, scarves, fabric by the yard or bolt, yarn, ribbons and lace–all sorts of blanks, as well as all the dyes, chemicals, and supplies needed for dyeing.
Black and other colored items are used in “discharge dyeing” in which color is selectively removed using a paste containing chemicals that bleach the color until stopped with another chemical. I use the fiber reactive MX coldwater series of dyes that work with any natural fiber. We mostly stay with cotton, rayon, silk, wood and bamboo. I purchase many items from Dharma, but also get white (or solid colored) items all year long and keep them ready for our Dyeing Days.
Shown above still tied are a dress and two shirts with rubber bands binding the cloth Shibori Kanoko style. This is what Westerners find most familiar as “tie dye”. That result in small circles, a swirl, and stripes. Here’s how they looked after dyeing.


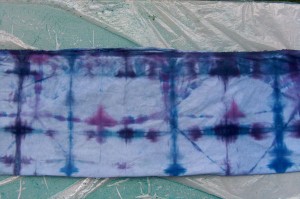
Shibori Arashi is done by wrapping fabric around a pole and tying it in place, then dyeing the cloth. We used a nylon twine that my husband got back when he was delivering newspapers for the Rocky Mountain News.
You need to make sure that the binding you use is synthetic, or it will not resist the dye as well. Rubber bands and nylon cord work well. It is often done in several stages, wrapping and re-wrapping and redyeing until the results are pleasing.
In this example, I am over-dyeing a piece of cotton jersey fabric that didn’t satisfy me the first go-around. Here you see the fabric folded in half lengthwise.
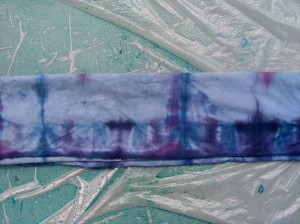
The halves are then each folded down towards the half-way-line, making quarters.
Bring one forward, and one backward, so the pleats form an “M” with the center line in the middle—kind of like folding a paper airplane.
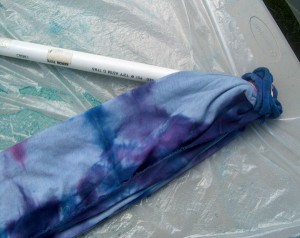
Place the folded fabric at an angle to the pole and secure with a rubber band just to hold things in place as the fabric is wrapped.Folding the fabric in quarters first is only one variation, and it results in a herringbone design of stripes that is more prominent on the sections that receive dye directly and less dark on the sections folded underneath.
If the fabric is NOT folded, but instead pleated together in small folds to narrow it before tying to the pole, the resulting stripes are wider and more evenly colored. The also go in a single direction, and this can look like feathers, leaves, woodbark–or the driving rain that gives “arashi”, translated as “storm” its name.
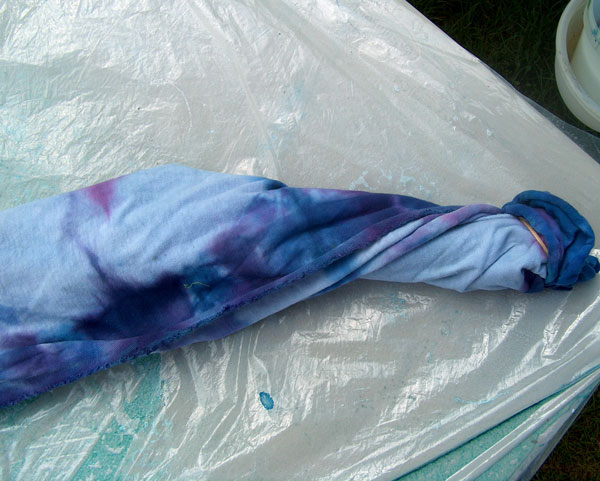
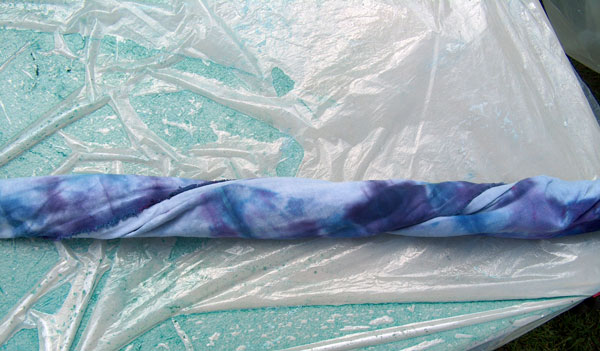
The fabric bundle is wrapped around the pole at an angle, and try to overlap the edges as little as possible.
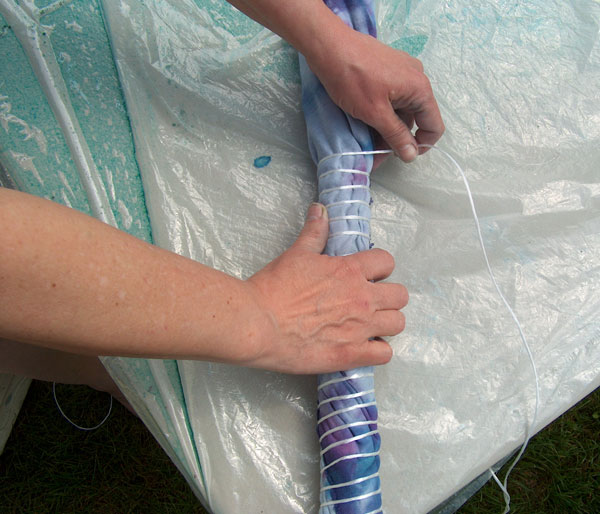
When the other end of the fabric is wrapped around the pole, secure it with a rubber band also. Adjust the wrap so that it fits the pole and the sections are evenly placed. Continue to twist the twine around the fabric wrapped pole. Space the segments evenly and use enough tension that the fabric bunches a little between the wraps.
When you reach the other end, wrap the twine around three times in the same spot and tie it off. Place one end of the pole on the ground, and scrunch the entire fabric wrap down as much as possible. Turn it over and do the same thing from the other end to compress the tube of fabric as tightly as possible.
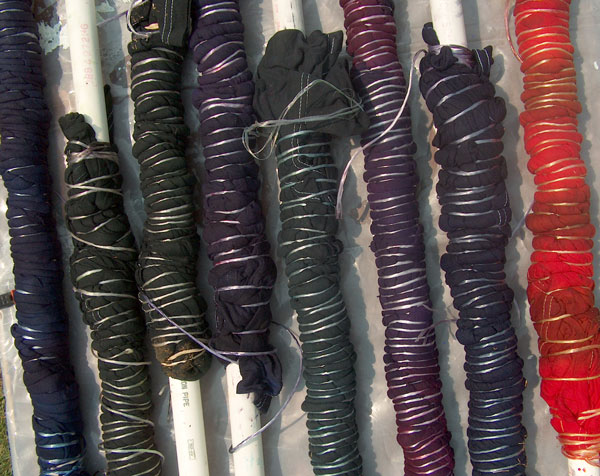
Dye mixed with soda ash and water is then poured over the fabric while still on the poles. Massage the dye into the layers. The poles were wrapped in plastic bags and allowed to sit in the sun all afternoon, then unwrapped the next day.
I found it easiest to hold one end of the string and let the whole thing twirl free. The cloth is then rinsed in cold water and washed in warm water with Synthrapol, a special detergent that keeps dyes that come out in the water from settling on cloth where you don’t want it.
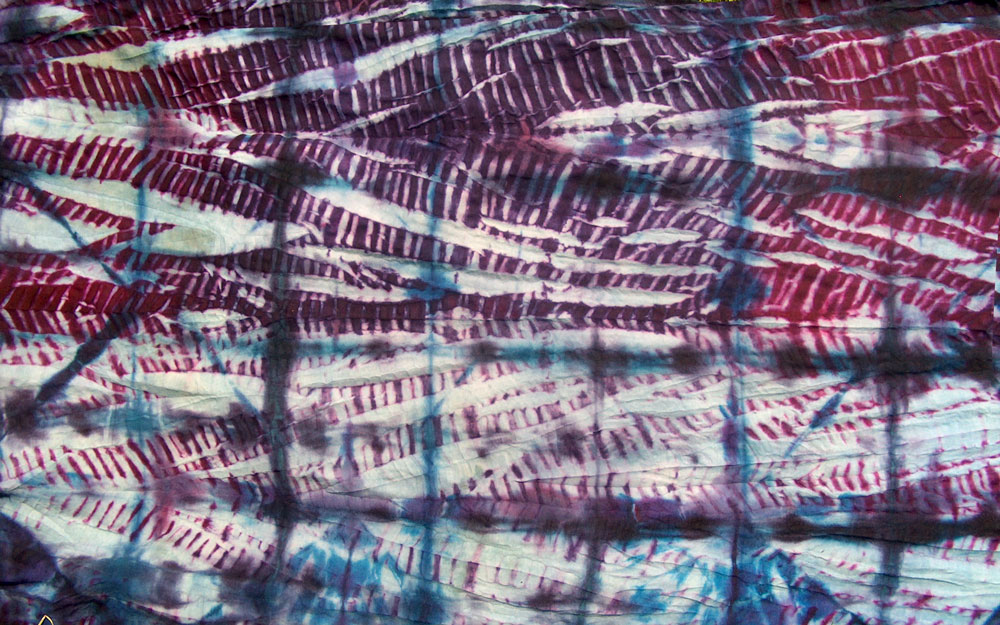
Here’s how this piece of cloth turned out. To see others, view the tie dye slideshow
